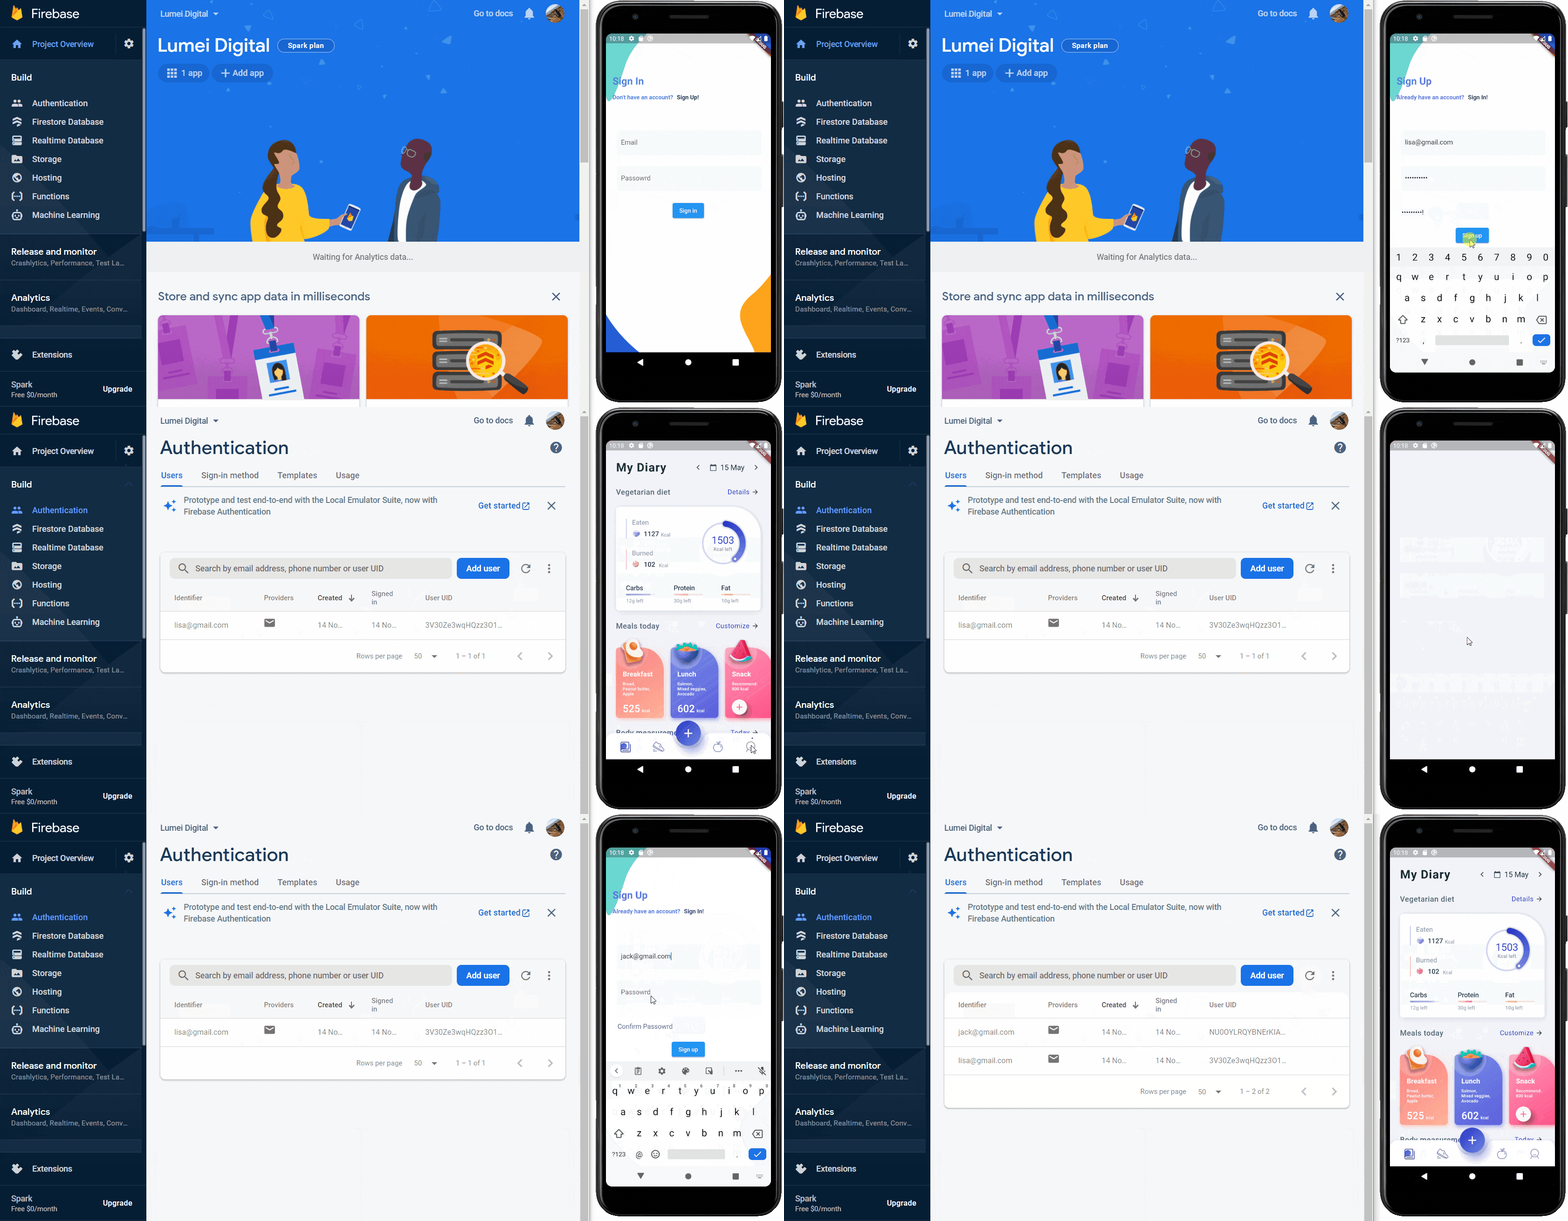
Create a flutter authenticate app in 10 mins by using firebase as the back-end. This Flutter tutorial is for beginners to build an app step by step with Firebase authenticate feature.

Nowadays, many apps need to run on multiple platforms, like iOS, Android, and the web.
That’s why Google made Flutter — the UI toolkit to build beautiful native apps from a single code base without compromising on quality, speed, or performance.
Undoubtedly, authentication is important in any organization and cannot be overlooked. Today, we will create an app with a security and authorization mechanism in place to let your users have seamless access to the applications on any device, protect intellectual property, maintain business efficiency, and satisfy customer experience by using the cloud authorization solution.
Visit Firebase and create a free account

Add project on Firebase. Enter the project name “FlutterFirebase”
Click “Android” icon* on your project to add Firebase to your Android app

▶️ Android package name is the ApplicationId “com.lumeidigital.firebase_application”
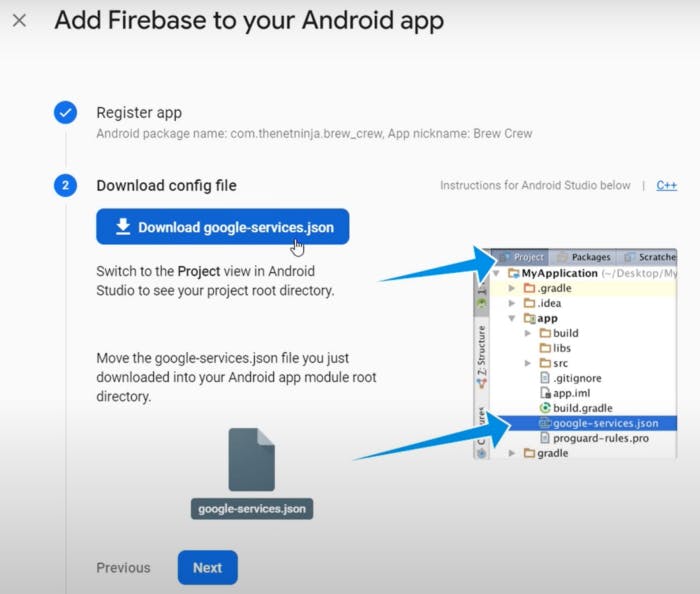
▶️ Download “google-services.json” and place it under folder “android\app”
▶️ Add classpath ‘com.google.gms:google-services:4.3.10’ inside the dependencies in the android\build.gradle
▶️ Add apply plugin: ‘com.google.gms.google-services’ in the android\app\build.gradle
Add packages
Visit Pub devto install 5 packages:
▶️firebase_auth
▶️cloud_firestore
▶️firebase_core
▶️provider
▶️flutter_spinkit
Run this command:
flutter pub add firebase_auth

flutter pub add cloud_firestore

flutter pub add firebase_core

flutter pub add provider

flutter pub add flutter_spinkit
Now, try to run the application to see if everything is fine on your app on the emulator.

We would be looking at our Part 2 App Structure